

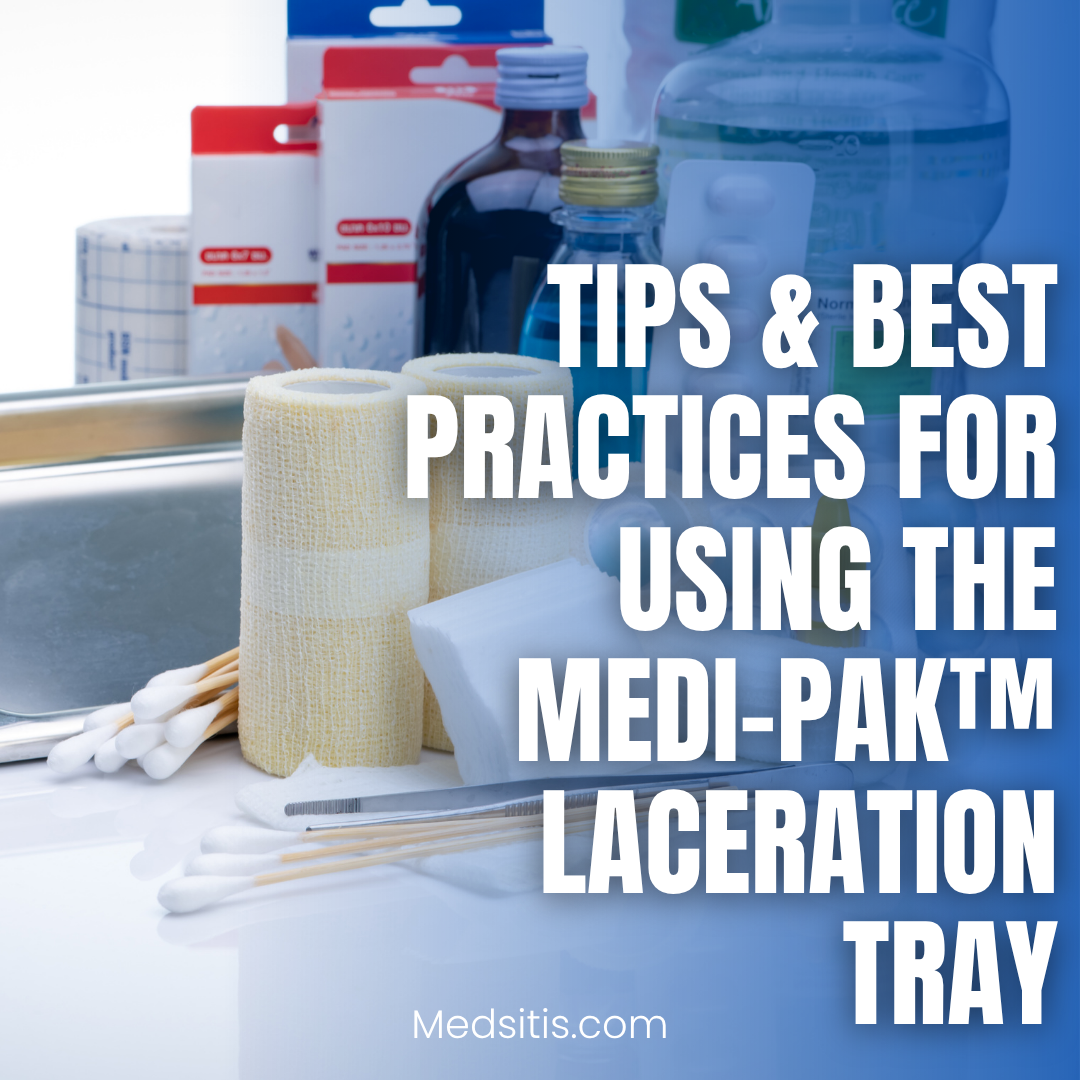
When performing wound closure or managing lacerations in clinical, urgent care, or field settings, having everything you need in one sterile, organized tray can make a difference in efficiency and patient safety. The Medi-Pak™ Premium Laceration Tray w/ Stainless Instruments provides a ready-made, single-use surgical kit suitable for minor procedures.
But owning a tray is only part of the story. In this blog, we’ll run through tips to get the most out of it — from preparation and usage to cleanup and quality checks.
Product Overview & Key Features
Before diving into tips, let’s recap what’s inside and why this tray can be so helpful. (Knowing the components helps you anticipate needs and avoid surprises during a procedure.)
Key attributes:
-
Sterile, single-use design — helps prevent contamination and cross-infection.
-
Latex-free (not made with natural rubber latex).
-
Components are packaged in sequence of use (i.e. in a logical order) to promote procedural flow and reduce confusion or waste.
Included contents (for the 25-2691 “Premium Laceration Tray” variant):
-
24" × 24" blue CSR wrap
-
Rigid tray
-
Gauze (4″ × 4″, 8 ply) ×10
-
Gauze (2″ × 2″, 8 ply) ×5
-
2 × 60 cc medicine cups
-
1 × stainless steel Adson forceps (1 × 2 teeth, ~4.75")
-
1 × stainless steel iris scissors (4.5")
-
1 × stainless steel Webster needle holder (5")
-
1 × stainless steel mosquito hemostat (5")
-
18G × 1.5" needle
-
25G × 0.625" needle
-
27G × 1.5" needle
-
10 cc – 12 cc Luer-Lock syringe
-
2 blue 4-ply blotting towels
-
Fenestrated drape (18" × 26")
-
3 mL “header bag” (9.75" × 15")
Because this kit is already pre-packaged, you can avoid the time and errors associated with assembling all instruments and supplies manually.

Tips for Effective Use
Here are practical tips and best practices to help clinical users (nurses, physicians, EMTs, etc.) get the most out of the Medi-Pak Laceration Tray:
1. Check Sterility & Expiry Before Opening
-
Always verify the integrity of the sterile packaging (no tears, punctures, moisture, or signs of damage) before opening.
-
Check the expiration date; if it’s expired, do not use it.
-
Open the tray only when in a controlled, clean environment (ideal: in an operating room, procedure room, or suitably sterile area).
2. Lay out your workflow and mental “map”
Because the components are packaged in sequence, take a moment to mentally walk through the steps of the procedure (prep → anesthesia → cleaning → suturing → dressing) before opening. That way, you’ll know which instruments will be needed next and can avoid fumbling.
3. Supplement as needed — plan for contingencies
The Medi-Pak tray is designed for “standard” laceration procedures. However:
-
If you anticipate needing specialty suture types, extra sutures, or alternative needle holders, have a backup tray or instruments ready.
-
If a patient has unique anatomical challenges (e.g. edges under tension, deep lacerations), you may need additional retractors, deeper suture material, or wound closure aids (e.g. skin adhesives or strips).
-
Always have extra sterile gloves, antiseptic solution, and irrigation solution on hand.
4. Maintain instrument ergonomics & positioning
-
Place the rigid tray on a clean, stable, flat surface within easy reach.
-
Position the forceps, scissors, needle holder, etc. in logical order (even though the kit is packaged in order) so transitions are smooth.
-
Use the 60 cc medicine cups for rinsing or holding antiseptic solution or saline.
5. Use the included drape and CSR wrap correctly
-
The included 24" × 24" blue CSR wrap is useful to cover or isolate parts of the field when necessary.
-
Use the fenestrated drape (18" × 26") to help isolate the wound site, maintain sterility, and prevent contamination from surrounding areas.
6. Gentle handling to preserve sharp edges
-
Even though the tray is intended for single use, the instruments (scissors, forceps, needle holder) are stainless steel. Handle carefully — avoid dropping them or hitting them against hard surfaces, as that may dull edges or damage tips.
-
Use the provided mosquito hemostat judiciously to clamp small bleeders rather than blindly grabbing tissue, which might damage instruments.
7. Irrigation, cleaning, and visibility
-
Use the 10–12 cc Luer-Lock syringe (with attached needle or irrigating tip) to flush debris, suturing field, or excess blood.
-
Use gauze strategically: larger gauze for bulk absorption, smaller gauze for more precise control.
8. Efficient suturing technique
-
Because the tray is designed to reduce waste and delays, move through your suturing steps confidently.
-
Use the Adson forceps to precisely handle tissue edges, minimizing trauma to surrounding tissue.
-
Ensure proper alignment of wound edges before placing sutures to avoid “dog ears” or tension.
9. Final wound dressings and closure
-
After suturing, apply the final dressings using the gauze included or any supplemental dressing.
-
Secure dressings but avoid excessive pressure that might compromise perfusion of wound edges.
-
Use the CSR wrap if you need to wrap or isolate adjacent areas.
10. Proper disposal and post-procedure cleanup
-
The tray and instruments are single-use sterile. After the procedure, discard all used parts (including instruments) in sharps containers or as per institutional protocol.
-
Do not attempt to re-sterilize or reuse these instruments — doing so defeats the tray’s safety premise and may compromise instrument integrity.
-
Perform appropriate surface disinfection of your procedure area, and document the lot number / tray ID in case of any tracking or audit requirements.
11. Stock management & rotation
-
Store the trays in a clean, dry, temperature-controlled environment, away from extreme heat, moisture, or direct sunlight.
-
Use a first-in, first-out inventory practice to ensure older kits are used before newer ones, reducing the risk of using expired ones.
-
Monitor supply levels, and maintain a buffer stock so you never run out in urgent situations.
12. Training and simulation
-
Especially for new team members (students, new nurses, rotating staff), run mock procedures with the tray before using it in real cases.
-
Practice recognizing each instrument’s purpose, sequence, and safe handling.
-
Simulations help improve speed, coordination, and reduce errors during real procedures.

Common Pitfalls & How to Avoid Them
| Pitfall | Consequence | Tip to Avoid It |
|---|---|---|
| Damaged sterile packaging unnoticed | Contamination, infection risk | Always inspect packaging before opening |
| Not having backup instruments or supplies | Interrupted procedure mid-way | Keep a backup tray or instruments ready |
| Misplacing instruments mid-procedure | Slower workflow, risk of sterile breaks | Pre-plan layout, “zone” arrangement |
| Over-reliance on kit without necessary extras | Inadequate tools for difficult wounds | Always carry supplemental suture sets, retractors, adhesives |
| Attempting to reuse disposables | Safety risk, liability, cross-contamination | Treat as single-use; dispose properly |
When the Tray May Not Be Sufficient
While the Medi-Pak tray is convenient and well-designed, there are times when it might not suffice on its own:
-
Complex or high-tension wounds: Large wounds needing layered closure, deeper suturing, flap techniques, or tension-relief sutures may require additional instruments not included in the tray.
-
Unusual anatomies: Facial lacerations, near joints, or areas over major vessels may require micro-instruments or specialty tools.
-
Pediatric or fragile skin: Extra care and alternative instruments may be needed (e.g., finer needles, specialty forceps).
-
Emergent settings (e.g., trauma with heavy bleeding) may require more robust kits, suction, electrocautery, or advanced modules not in this tray.
Recognizing the limits of your kit and being ready with escalation options is part of safe practice.
Conclusion
The Medi-Pak Premium Laceration Tray is a well-thought-out, streamlined solution for minor laceration repair and wound closure tasks. Its pre-sequenced packaging and sterile, single-use design can boost procedural efficiency and reduce error risk. That said, success with it depends on good preparation, familiarity with contents, backup planning, and safe handling.
If you’re looking to stock reliable, ready-to-use laceration trays, Medsitis makes it simple to order high-quality wound care solutions so your team is always prepared when every second counts.